

16 Aug How to Install ACP Panels Step by Step
Table of Contents
If you want to put up an acp panel, start with these easy steps: measure your area, clean the surface, plan your layout, and follow the maker’s instructions. A step-by-step guide helps make the job much easier, even for diy projects. Always make sure you use the right acp panel and glue for your area. Many people make mistakes by picking indoor panels for outside or using the wrong glue, which can cause color changes or peeling. For the best results, trust this step-by-step guide and follow the clear steps. With good planning, your acp panel will look nice and last a long time.
Key Takeaways
Get the right tools, materials, and safety gear first. This will make your work easier and safer. – Clean and level the surface before you start. This helps the panels stick well and look nice. – Measure carefully and plan where each panel will go. This keeps everything straight and spaced evenly. – Follow each step: build a strong frame, cut panels to fit, attach them tightly, and seal the joints. This keeps out bad weather. – Clean your panels and check them often. This helps you find problems early and makes your cladding last longer.
Tools for ACP Panel Installation
Are you getting ready to install ACP panels? You need to have the right tools and materials before you begin. This helps make your work easier. It does not matter if your project is big or small. Use this guide to help you get what you need.
Essential Tools
You need some important tools to work with aluminum composite panels. These tools help you measure, cut, and attach the panels safely. Here are the tools you should have:
Measuring tape helps you measure the panels.
Level keeps your panels straight.
Electric saw or CNC router cuts the acp sheets.
Twist drill makes holes for screws or rivets.
Screws and adhesive tape hold the panels in place.
Brackets and clamps help support and line up the panels.
Sheet metal punching machine makes holes in metal parts.
Three-roll press machine and press brake machine bend and shape the aluminum panels.
Tip: Check your tools before you start. This saves time and helps you not make mistakes.
Materials Checklist
You need more than just tools to install acp panels. Make sure you have these materials ready:
Material | Purpose |
|---|---|
ACP sheets | These are the main panels |
Aluminum brackets | They give support and structure |
Screws and rivets | They fasten the panels |
Adhesive tape | It gives extra hold and sealing |
Sealant | It seals joints and edges |
Cleaning cloths | Use them to wipe surfaces |
If you have all your materials ready, you will not need to stop your work.
Safety Gear
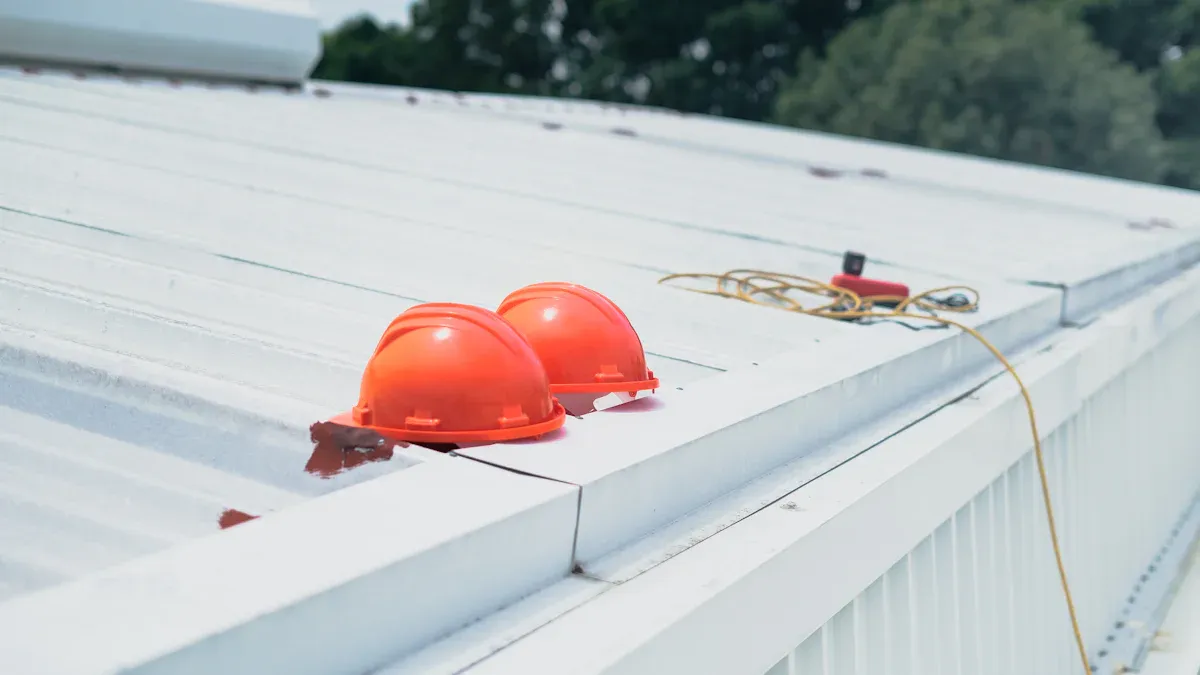
Working with aluminum and acp sheets can be dangerous. Always wear gloves and goggles to protect your hands and eyes. Wear a helmet if you are working above the ground.
Note: Fire safety is very important with acp panels. Some acp panels have a core that can burn easily. Always check if your panels are fire-retardant and follow the rules. If you do not know, ask someone who knows or look for safer panels.
When you use the right tools, materials, and safety gear, your work is safer and better. This guide helps you not make mistakes and keeps your acp panel project going well.
Preparation for Aluminium Composite Panel
Getting ready before you install aluminium composite panels is very important. Good prep work helps your cladding last longer and look nice.
Surface Cleaning
Start with a surface that is clean, dry, and smooth. Dust, grease, or old paint can stop the panel from sticking. Wipe the wall and the back of each panel with a clean cloth. Remove fingerprints, wax, and other dirt. If the wall has bumps, trim or level them. Sometimes, you need wooden slats or keels to make the wall flat. For columns or hard spots, fill gaps with wooden keels about 300mm apart. This step helps the panels stick well and look neat.
Tip: Make sure the surface is dry before you put on the aluminum composite panel cladding. Wet walls can cause problems later.
Measurement and Layout
Measuring and planning help your panels fit right. Measure the wall and mark where each panel will go. Use a level and chalk to draw a grid on the wall. The grid helps you keep the panels straight and spaced right. If you need to waterproof, add a building wrap or primer first. Put flashing at the bottom to help water drain away. Mark where your extrusions, backplates, and clips will go. Good spacing and alignment keep your cladding strong and even.
Planning Panel Direction
Before you start, look at the arrows on the protective film of each acp panel. The maker says to put all panels in the same direction. This stops color or shine changes, especially with metallic panels. Order all your panels at the same time to keep the color the same. These steps help you avoid panels that do not match and keep your cladding looking good.
Note: Always follow the maker’s rules for panel direction and how to install. This small step can change how your project looks in the end.
ACP Sheet Installation Steps
 Installing ACP panels takes careful planning and the right steps. You want your cladding to look great and last for years. Let’s walk through the acp sheet installation steps so you can install aluminum composite panel cladding like a pro.
Framing and Support
Start by building a strong frame for your aluminium composite panels. This frame supports the entire installation process and keeps your cladding secure. Here’s how you do it:
Measure and mark where each panel will go. Use a level to keep everything straight.
Clean the area and gather all your tools and materials before you begin.
Install the subframe using aluminum or galvanized steel. Mark vertical and horizontal lines for perfect alignment.
Fix the framework supports with the right spacing. Most projects use 600mm to 1200mm between supports.
Anchor the frame with mechanical anchors or brackets. Make sure everything feels solid and level.
Double-check your layout. Good framing helps with panel alignment and spacing later.
Tip: Always wear gloves, goggles, and a mask when you work with aluminum and acp sheets. Safety first!
Cutting ACP Panels
Panel cutting and fabrication come next. You want clean edges and the right size for each acp panel. Use a CNC router for the best results. This tool gives you fast, accurate cuts and helps you waste less material. If you use a saw, pick one with carbide-tipped blades made for non-ferrous metals. Keep the blade sharp and use the right tooth spacing.
Secure your acp sheets with clamps or double-faced tape. This keeps the finish safe.
For shapes or grooves, use a router with a V bit. This helps you bend the panel without breaking the aluminum skin.
Place foam pads under the panel if you need to cut out the center. This stops damage to the finish.
Note: Always keep the protective film on your acp panels until you finish the installation. This prevents scratches during panel cutting and fabrication.
Start at Corners or Transitions
The starting panel placement matters a lot. Begin at a fixed point, like a corner or a transition. This step helps you keep the alignment straight for the rest of the cladding. Fix vertical rods and anchor points first. These serve as your main guides for the whole installation process.
Place your first acp panel at the corner.
Use your reference lines to check alignment.
Work outwards from this starting panel placement. This keeps your panel installation neat and even.
Attach Panels (Mechanical Fasteners)
Now you can attach your acp panels. Mechanical fasteners work best for most projects, especially in areas with strong wind or big temperature changes. Use screws, bolts, or brackets for a strong hold.
Drill holes in the panels before you attach them. This helps prevent cracks.
Align the panels with the pre-drilled holes.
Insert and tighten the screws or bolts. Make sure you do not overtighten.
Secure brackets with screws for extra support.
Mechanical fixing gives you a durable attachment. It also makes it easy to inspect and maintain your cladding later.
Callout: Always consider wind load and bracket size. Use the right formula to check if your supports are strong enough. For wind pressure, use P = 0.00256 × V², where V is the wind speed in mph. For total force, use F = A × P × Cd. This keeps your aluminum composite panel cladding safe in all weather.
Alignment and Clamping
Good alignment and spacing make your cladding look professional. Before you finish, check that the building surface is plumb and square. Use control lines or a laser to guide you.
Set a base control line to keep the system level.
Install the first panel at a key transition point. Make sure it sits square and plumb.
Add the next panels along your control lines. Check the spacing often.
Use shims between panels to keep the gaps even.
Hold panels in place with clamps or temporary adhesives until you secure them fully.
Tip: Remove the protective film right after you finish each section. This lets you check for color changes and fix any problems fast.
Sealing Joints
Sealing the joints between your acp panels is the last step in the acp sheet installation process. Use a high-quality, neutral-cure silicone sealant. This type of sealant sticks well to aluminum, stays flexible, and resists UV rays, rain, and wind.
Insert foam backer rods into the joints before you apply the sealant.
Apply the silicone sealant evenly along the edges and joints.
Smooth the sealant for a neat finish.
Clean off any extra sealant before it dries.
This step keeps water and air out, protects your cladding, and helps your aluminum composite panel cladding last longer.
Note: Always follow the manufacturer’s instructions for sealant type and application. This keeps your cladding weatherproof and looking sharp.
When you follow these acp sheet installation steps, you get a strong, safe, and beautiful finish. Take your time with each part of the installation. Good planning, careful panel alignment and spacing, and the right tools make all the difference. Your entire installation process will go smoother, and your cladding will stand up to the elements for years.
Finishing and Inspection
 Final Adjustments
 Final Adjustments
You are almost done with your cladding project. Now is the time to make sure everything looks perfect. Start at one corner and move outward. This helps you keep the cladding straight and avoid gaps. Use your level and marked lines to check that each piece lines up. If you see a panel that is not even, loosen the fasteners and adjust it. Tighten screws or bolts, but do not overtighten. If you used adhesive, press the panel firmly and use a roller to push out air bubbles. Remove the protective film right after you finish each section. This keeps sticky residue off your cladding and lets you spot any problems early. For a neat finish, smooth out the sealant on all joints and edges. You can also use J-trim or other mounting systems for a polished look.
Tip: Always check the corners and edges. These spots need extra care to keep water out and your cladding strong.
Cleaning Surfaces
After you finish installing, your cladding may have dust or fingerprints. Cleaning it the right way keeps it looking new. Start by dusting or rinsing the surface with clean water. Use a soft cloth or sponge with mild soap and warm water. This removes dirt without scratching the cladding. For tough spots, use a soft-bristled brush and scrub gently. Rinse with clean water to wash away any soap. Dry the cladding with a microfiber cloth to stop water spots. Never use harsh chemicals or rough scrubbers. These can damage the surface and shorten the life of your cladding.
Note: Clean your cladding at least twice a year, or more if you live near the sea or in a city with lots of pollution.
Quality Check
Before you call the job done, do a full check of your cladding. Look for gaps, misaligned panels, or places where the sealant is missing. Make sure all joints are smooth and sealed. Check that the flashing around edges and corners is tight. If you see any scratches or small defects, use touch-up paint or extra sealant. High-quality sealants and gaskets help keep water and air out, making your cladding last longer. Set up a regular inspection schedule to keep your cladding looking great and working well.
Callout: A careful inspection now saves you time and money later. Well-finished cladding protects your building and keeps it looking sharp.
Maintenance for Install Aluminum Composite Panel
Routine Cleaning
Keeping your ACP panels clean helps them look great and last longer. You do not need fancy products or tools. Just follow these easy steps:
Mix a mild detergent or light soap with warm water. Use about one part soap to five parts water.
Use a soft cloth, sponge, or microfiber towel. Clean the panels gently from top to bottom. This stops dirty water from dripping onto clean spots.
For tough stains, try a little isopropyl solution. Always test it on a small, hidden area first.
Rinse the panels with clean water to remove any soap.
Dry the surface with a soft cloth or let it air dry.
Tip: Never use harsh chemicals, strong acids, or rough brushes. These can scratch or damage the protective coating. If you see bird droppings or tree sap, clean them off right away with a gentle cleaner.
Inspect for Damage
You should check your panels often to catch problems early. A full inspection once a year works for most places. If you live near the sea or in an industrial area, check the sealants every six months. After big storms or strong winds, look over your panels again.
Focus on the coating, sealants, joints, and fasteners.
Look for cracks, loose parts, or missing sealant.
Check that all connections feel tight and secure.
Note: Regular inspections help you spot small issues before they turn into big repairs.
Preventive Care
A little extra care goes a long way. Here are some smart steps to keep your ACP panels in top shape:
Clean and inspect panels with soft tools and neutral cleaners.
Remove leaves or debris from joints and drainage channels.
Check fasteners, seals, and gaskets, especially after storms.
Touch up paint or coatings if you see fading or damage.
Replace any cracked or hard sealant to keep water out.
Reinforce brackets or supports in high-stress spots.
Keep a record of your inspections and repairs.
Callout: When you take care of your panels, you protect your building and keep it looking sharp for years to come.
When you follow each step in the ACP panel process, you set yourself up for a successful installation. Here’s what you gain:
You stop water from getting in by sealing joints.
You let panels move with heat and cold.
You get a smooth, good-looking finish.
You make your panels last longer.
You stay safe by using the right gear.
You spot and fix problems early.
You save time and money.
You boost your building’s strength and comfort.
Always double-check your measurements and alignment. If you feel unsure at any point, reach out to a qualified professional. This helps you finish the job safely and with confidence.
FAQ
How long does it take to install ACP panels?
You can finish a small project in one or two days. Bigger jobs may take a week. The time depends on your wall size, the number of panels, and your skill level.
Can I install ACP panels by myself?
Yes, you can install ACP panels on your own if you have the right tools and follow the steps. For large or high walls, you may want a helper for safety.
What should I do if a panel gets damaged?
If you see a dent or scratch, you can replace the panel or use touch-up paint. For big damage, remove the panel and put in a new one. Always check for loose fasteners.
Do ACP panels need special cleaning products?
No, you do not need special cleaners. Use mild soap and water with a soft cloth. Stay away from harsh chemicals or rough brushes. These can harm the panel’s finish.