

06 Aug Step by Step Guide to Installing ACM Metal Panels
Table of Contents
If you want to learn how to install ACM metal panel systems the right way, you should use a step-by-step guide. Measuring and getting ready are very important for a perfect acm panel installation and long-lasting strength. Experts say acm panels are popular for outside walls because they are light and strong. You should always follow a guide so you do not make mistakes, like not leaving space for expansion or picking the wrong glue. If you work slowly and follow each step, you can make your project look professional and enjoy acm metal panel systems for many years.
Key Takeaways
Get all the tools and materials you need before you start. This helps make sure the ACM panel installation goes well and stays strong. Check the wall framing closely. Make sure it is ready so the panels stay flat and safe for a long time. Measure and cut the panels carefully. Leave a little space for expansion. This stops warping and damage. Begin putting up panels at the corners. Use the right fasteners. Follow the manufacturer’s instructions to avoid errors. Seal the joints tightly. Check your work to stop leaks. This keeps your ACM panels looking good for many years.
Tools and Materials
Essential Tools
You need the right tools to install acm panels and get a strong, neat finish. Start with a measuring tape to mark out your wall and check every measurement. Use cutting tools such as shears for straight cuts, snips for small changes, and a band saw for curves or thick panels. If you want special shapes or grooves, a CNC router works best. For bending panels, a press machine helps you get clean lines.
You should have fasteners like hex head self-drilling screws, nuts, and rivets. These keep your acm system secure. Use sealants, such as one-part silicone for visible joints, and non-curing butyl tape for hidden joints. Leveling tools, shims, and adjustable brackets help you line up each panel in the system. Specialized tools for drilling pilot holes and installing fasteners make the job easier.
Tip: Always wear safety gear. Gloves, goggles, dust masks, and ear plugs protect you during installation.
Control line tools, such as laser levels and chalk lines, help you keep the acm panels straight. Tools for finishing edges and trims give your project a polished look.
Materials Checklist
Before you start, gather all the materials for your acm panel system. You need weather-resistant barriers to keep water out. Choose sealants like silicone for flexibility and UV resistance, or polyurethane for extra strength. Pick a mounting system that fits your project, such as exposed fastener, concealed fastener, or direct-fix systems. Make sure your mounting hardware—brackets, clips, screws, rivets, and anchors—are strong and resist rust.
Leveling tools and guidelines, like laser levels and chalk lines, help you place each acm panel in the right spot. Shims and adjustable brackets keep the panels even. Use trim components, such as snap-on trims and aluminum extrusions, for a clean edge. Add ventilation and drainage parts, including holes and flashings, to protect your wall. Expansion joint materials and flexible sealants let your acm system handle temperature changes.
If you use the al13 panel system or the al13 plank system, check the manufacturer’s list for any special parts. Always inspect your tools and materials before you begin to make sure your acm system will last.
Preparation Steps
Check Wall Framing
Before you install any acm panel, you need to check the wall framing. Make sure the framing is straight and strong. Use a level to see if the wall is even from top to bottom. If you find any bends or weak spots, fix them before you move on. A solid frame helps your acm system last longer and keeps the panels flat. You should also check that the framing lines up with your installation plan. This step stops problems later, like panels that do not fit or gaps in your acm system.
Tip: Take your time with this step. Careful checks now save you from costly repairs after you install the acm panels.
Clean and Mark Surface
A clean surface is key for a strong acm system. Start by wiping away dust and dirt. Use ethyl alcohol or a 70% solution of isopropyl alcohol with a non-colored, lint-free cloth. Do not use soaps, silicone cleaners, or any liquid that leaves a film. These can stop the acm panel from sticking well. Always remove the protective film from the panel slowly to avoid static. Never touch the panel surface with bare hands.
Next, mark your layout lines. Use a laser measuring tool to get the right size for your acm system. Plan where each panel and joint will go. Mark straight lines with a level and chalk line. Make sure your vertical and horizontal lines are even. Leave a 1/4-inch gap between each panel for thermal expansion. Control lines, like taut strings or laser levels, help you keep the panels straight. Check your lines often as you install each part of the acm system. Careful marking makes the whole install process faster and helps your acm system look neat.
How to Install ACM Metal Panel

Measure and Cut Panels
You need to start with accurate measurements. Use a tape measure to check the height and width of your wall. Mark each spot where you will install acm panels. Double-check your numbers before you begin cutting and laying out acm panels. This step helps you avoid mistakes and wasted material.
When you cut the acm metal panel, use the right tools for the job. Table saws and panel saws work well for straight cuts, especially if you use blades made for aluminum. Jigsaws help you make curved or special shapes. CNC routers give you the best results for complex designs. Always make your cuts neat, square, and true. Do not use a torch to cut acm. After cutting, use a metal file to remove sharp edges and clean away filings.
Here are the standard tolerances you should follow:
Parameter | Tolerance / Limit |
|---|---|
Thickness | ±0.008 inches (0.2 mm) |
Width | ±0.188 inches (4.78 mm) |
Length | ±0.375 inches (9.53 mm) |
Diagonal | Maximum difference of 14 mm |
Warpage/Bow | Maximum 0.8 mm over length or width |
Tip: Always de-burr the edges and clean the surface before you move to the next step. This keeps your acm system looking sharp and helps the panels fit together well.
Set Up Framing System
You must set up a strong framing system before you install acm panels. Use aluminum or steel framing for the best support. Make sure the frame is straight and level. Use a spirit level and shims to adjust the frame as needed. The frame must match your layout lines and support every edge of each acm metal panel.
Check that the frame allows for expansion and contraction. Leave a gap of at least 3/8 inch from the panel edges. For long panels, allow 1/8 inch of space for every 5 feet of length. This prevents warping or buckling when the temperature changes.
Note: A good framing system helps your acm panels stay flat and secure for many years.
Start at Corners
Begin your installation at a corner or where two walls meet. This method keeps your panels straight and helps you avoid gaps. Place the first acm metal panel at the bottom corner. Use a spirit level to check both vertical and horizontal alignment. Attach the first panel loosely so you can adjust its position.
Follow these steps for best results:
Double-check your measurements and marks before you install each panel.
Use spacers or shims to keep even gaps between panels.
Check alignment after each panel with a level and tape measure.
Adjust as needed before tightening fasteners.
Tip: Starting at the corner gives you a straight line to follow and helps you achieve a professional look.
Attach Panels Securely
Now you can attach the acm panels to the framing system. Use fasteners like self-drilling screws, rivets, or clips made from aluminum, plastic, or stainless steel. Do not use copper, brass, or raw steel because these can cause corrosion. Place fasteners at least 0.75 inches from the panel edges. Tighten each fastener until snug, but do not over-torque. Over-tightening can damage the acm core.
Leave a gap of 10-15 mm (about 0.39 to 0.59 inches) between panels for expansion. For joints, design the gap to be four times the expected movement. Always follow the manufacturer’s detailed instructions for your specific acm system. Clean the substrate with isopropyl alcohol and use only approved adhesives or tapes. Apply even pressure when mounting to avoid bubbles or wrinkles. Allow the adhesive to cure for at least 3 hours before exposing the panels to weather.
Callout: If you see any warping, gaps, or loose panels, stop and fix the problem right away. This prevents bigger issues later.
You may face challenges like improper installation, water leaks, or surface damage. You can avoid these problems by following the manufacturer’s guidelines, using the right hardware, and allowing for thermal movement. Regular checks and careful work help you install acm panels that last for decades.
Finishing Touches
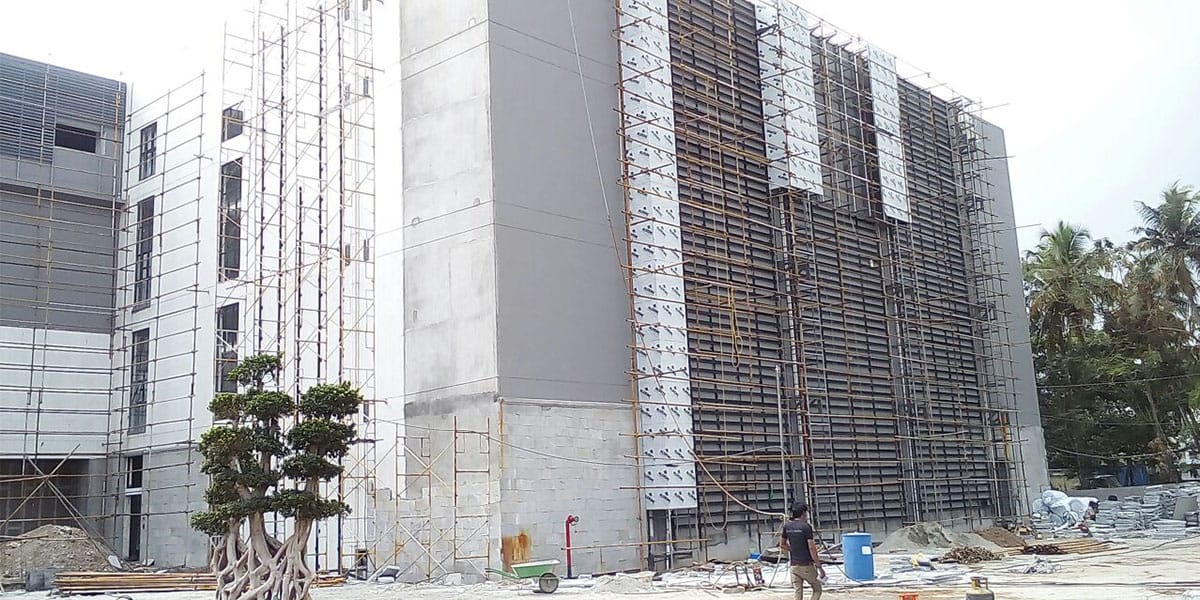
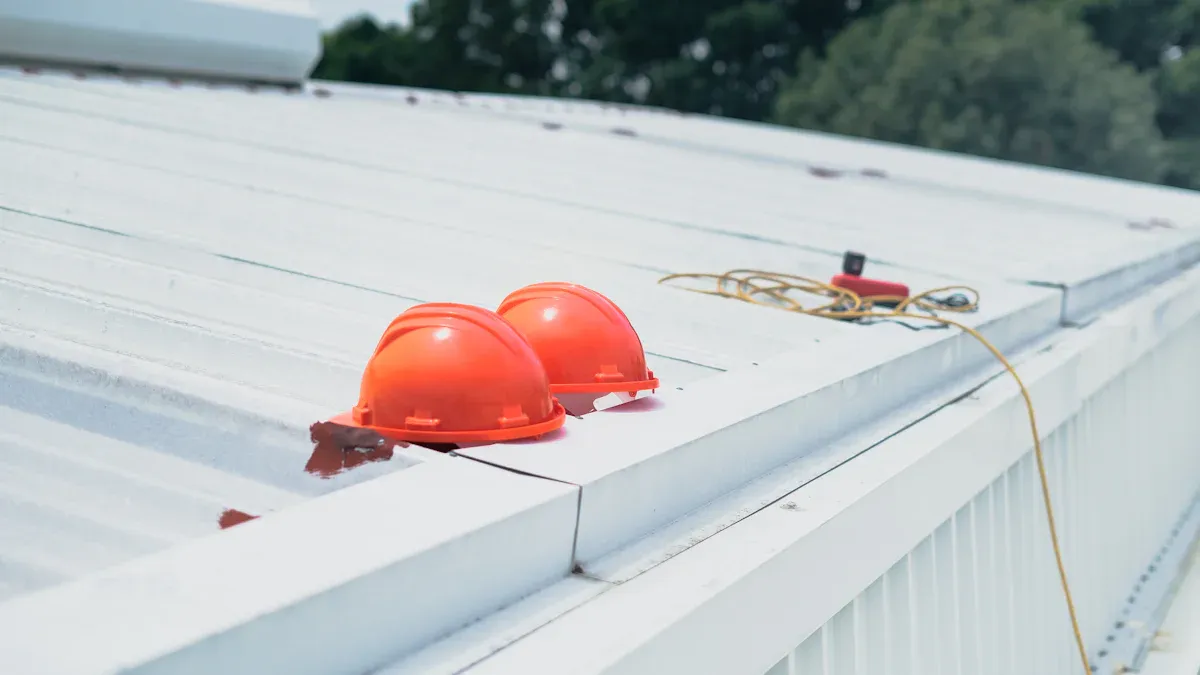 Image Source: pexels
Seal Joints
You need to seal the joints between each acm panel to protect your wall from water and air leaks. Most installers use silicone sealants because they work well for outdoor acm systems. Silicone sealants give you strong UV resistance, flexibility, and weatherproofing. You can also use MS sealants if you want a paintable finish or need low odor inside. For best results, fill a 1/2 inch wide joint with silicone. This method creates a tight seal and keeps your acm panels safe from rain and wind. Many acm systems use a caulked joint system, which has passed strict tests for weather resistance and durability. Always use a backer rod before you add caulk. This step helps you control the depth of the sealant and gives your acm system a neat look.
Tip: Make sure you follow the manufacturer’s instructions for joint sealing. This step helps you avoid leaks and keeps your acm panels strong for years.
Inspect and Adjust
After you install all the acm panels, you should inspect your work. Look for gaps, loose panels, or uneven surfaces. Use a checklist to help you spot common problems:
Deformation or warping of the panel surface
Improper gluing or sealing at the joints
Loose fasteners or missing anchors
Common Issue | Description | Cause |
|---|---|---|
Peeling Panels | Panels separate after install | Wrong adhesive or poor outdoor glue |
Warped Surface | Panels look bent or wavy | Weak base or wrong material |
Bad Joint Sealing | Gaps or ugly joints | Wrong tape or film used |
If you find any of these problems, fix them right away. You can adjust fasteners, add more sealant, or replace damaged panels. Careful inspection helps you keep the acm system safe and improves its durability.
Maintenance Tips
You can keep your acm panels looking new and strong with simple care. Clean the panels by hand with mild soap and warm water. Use a soft cloth or sponge and wipe in circles from top to bottom. Do not use harsh cleaners like caustic soda, which can damage the finish and reduce durability. Clean small sections at a time to avoid leaving soap marks. Wait 40 to 45 days after you install the panels before you remove the protective film. This step prevents stains from the sealant. Adjust your cleaning schedule based on how dirty the panels get and the local weather. Rain alone will not clean your acm system.
Note: Regular cleaning and quick repairs help you maintain the durability of your acm panels. Good maintenance means your install will last longer and look better.
You can get a perfect acm panel install if you follow this guide. Getting ready, lining up panels, and finishing well make your work look pro. Always check the core material to make sure it is safe from fire. The table below explains why this is important:
Core Material Type | Fire Risk Level | Safety Notes |
|---|---|---|
Polyethylene (PE) | Very easy to burn, not allowed in many countries for tall buildings because of fire danger | |
Fire-retardant (FR) | Moderate | Better at stopping fire but still not fully safe |
Mineral core | Low | Does not burn and meets fire safety rules |
Pick the right acm panels, glue, and frame for your job. Do not use indoor panels outside or forget to add weather barriers. Read the guide before you begin, follow every step, and check your work when you finish. This guide helps you put up acm panels the safe and right way.
FAQ
How long does it take to install ACM metal panels?
You can usually finish a small project in one or two days. Larger jobs may take a week. The time depends on your wall size, your skill, and how well you follow the guide.
Can you install ACM panels by yourself?
You can install ACM panels alone if you have experience and the right tools. For large panels or tall walls, you should ask for help. A helper makes the job safer and faster.
What is the best way to cut ACM panels?
You should use a table saw with a fine-tooth blade for straight cuts. For curves, try a jigsaw. Always follow the guide and wear safety gear to protect yourself.
How do you keep ACM panels from warping?
You must use a strong frame and leave space for expansion. Always check your panels for flatness before you attach them. The guide helps you avoid common mistakes that cause warping.