


03 Apr Step-by-Step Instructions for Installing Aluminum Wall Panels Indoors
Table of Contents
- 1 Key Takeaways
- 2 Tools and Materials for Aluminum Wall Panels Interior
- 3 Preparing Walls and Acclimating Panels
- 4 Measuring and Cutting Aluminum Wall Panels
- 5 Step-by-Step Guide to Install Aluminum Wall Panels
- 6 Finishing and Sealing Aluminum Wall Panels Interior
- 7 Maintenance Tips for Aluminum Wall Panels Interior
- 8 FAQ
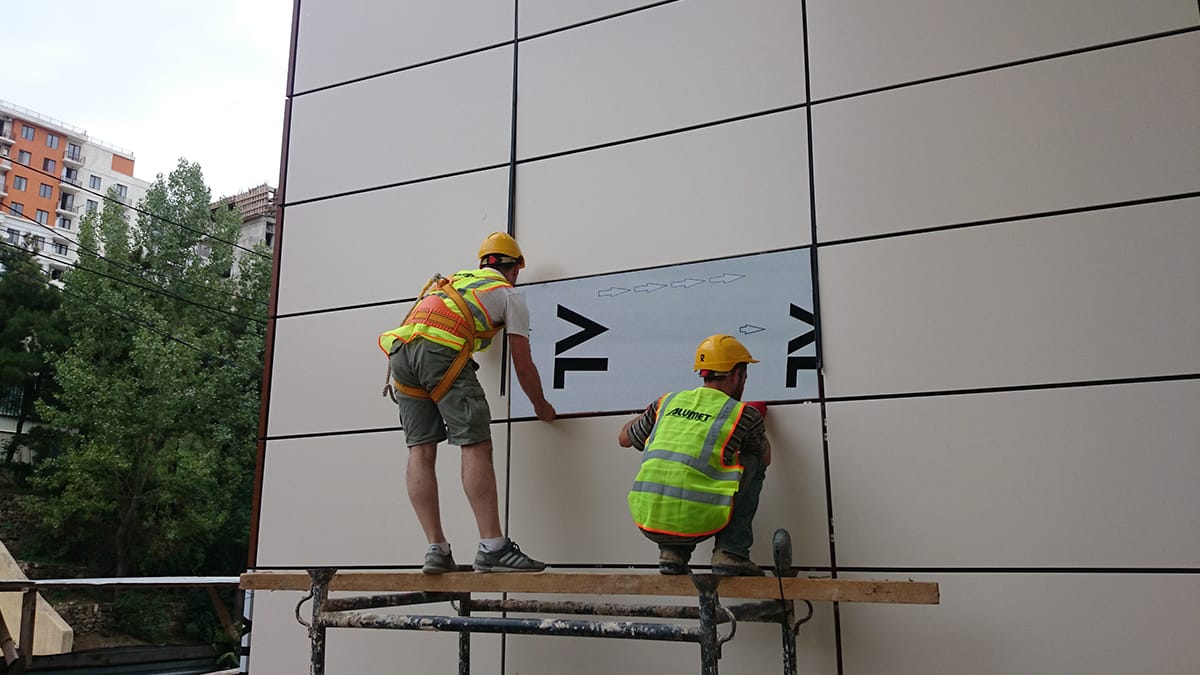
You can transform your room with aluminum wall panels interior. This guide shows you how to install them step by step. Most people think these panels are easy to put up. You can do it even if you only know basic DIY. If you prepare before you start, the job goes faster. For example, corrugated metal wall panels take 1–2 days for every 100 m². You can make your walls look professional with simple tools and careful planning.
Material Type | Average Installation Time |
|---|---|
Corrugated Metal Wall Panels | 1–2 days per 100 m² |
Aluminum Wall Panels Interior | Not specified |
Wood Panels | Not specified |
Key Takeaways
Get all your tools and materials ready before you start. This helps you save time and makes the job easier. Make sure the wall is clean and dry before you begin. This stops problems with glue and helps the panels stick well. Measure the wall carefully and mark where the panels will go. This keeps the panels straight and stops them from being crooked. Use the correct fasteners and clip systems to hold the panels tight. This keeps the panels in place and makes them look neat. Seal every joint and edge after you finish putting up the panels. This keeps water out and helps your aluminum wall panels last longer.
Tools and Materials for Aluminum Wall Panels Interior
Get all your tools and materials before you start. This helps you finish the job faster and safer. Using the right tools for each step helps you avoid mistakes.
Essential Tools and Fasteners
You need special tools to cut, measure, and attach aluminum composite panels. Here is a list to help you:
Use a tape measure and pencil to mark spots.
Use a level to make sure lines are straight.
Cut panels with a utility knife or metal snips.
Use a drill with screwdriver bits.
Wear safety glasses and gloves.
Pick fasteners that fit the panel weight and wall type. Use screws with wood threads for lighter panels. For heavy panels or walls that are not solid wood, use drywall anchors. Plastic anchors are good for thick walls and give more support. Always check how thick the wall is before you choose fasteners.
Tip: Put out all your tools and materials before you start. This saves time and keeps your work area neat.
Materials and Safety Gear
You need more than just panels and fasteners. Make sure you have all the materials and safety gear you need. Check this table to see what you need:
Material / Gear | Purpose |
|---|---|
Aluminium composite panels | Main wall covering |
ACP trims and moldings | Finish edges and corners |
Adhesive (if needed) | Extra hold for some surfaces |
Cleaning cloths | Wipe dust and fingerprints |
Safety glasses | Protect your eyes |
Work gloves | Protect your hands |
Always wear safety gear when you cut or drill. This keeps you safe from sharp edges and flying pieces. If you get ready with the right tools and materials, installing aluminum composite panels is much easier.
Preparing Walls and Acclimating Panels
 Cleaning and Drying the Area
 Cleaning and Drying the Area
First, get the wall ready. Take out old nails and screws. Remove loose paint from the wall. Use a broom or vacuum to clean up dust and dirt. Wipe the wall with a damp cloth to get leftover debris. Wait until the wall is totally dry. Wet walls can cause trouble with adhesives and fasteners. If you see cracks or holes, fill them with patching compound. Smooth the area with sandpaper. This step helps you get the wall ready for new panels. Good preparation makes the job easier.
Tip: Look for hidden water damage before you start. Fix leaks or damp spots right away.
Acclimating Aluminum Wall Panels Interior
Let your aluminum wall panels, trims, adhesives, and substrates sit in the room. Keep them there for at least 24 hours before you begin. This step stops warping or shifting after you install them. The panels and materials will change to match the room. If you skip this step, you might get gaps or misalignment later. Acclimating the materials is very important.
Checking Wall Alignment and Reference Lines
You also need to check if your walls are straight and level. Use a tape measure to find out how much area you will cover. Mark lines on the wall where you want to put the panels. These lines help you keep everything straight as you work. Use a level to check your marks. Check the alignment often and fix it if needed. Careful planning stops crooked panels and uneven seams.
Measure the room to find the total area.
Mark lines on the wall for the panel grid.
Use a level to check your lines.
Check alignment as you install each panel.
Note: Careful wall preparation and checking alignment help you get a professional-looking finish.
Measuring and Cutting Aluminum Wall Panels
Accurate Measuring and Layout Planning
Start by measuring your wall carefully. Use a tape measure to get the right size. Write down each number before you start working. Mark the wall and the panels to help you remember. Double-check your marks so the panels fit well. Planning your layout helps you use less material. It also makes your wall look neat. Draw lines on the wall to show where the panels will go. This step makes the rest of the job easier.
Cutting Aluminum Wall Panels Safely
You need the right tools to cut aluminum wall panels safely. Pick your tool based on the size of your project and the type of cut. The table below shows which tool is best for each job:
Tool | Best for | Advantages | Considerations |
|---|---|---|---|
CNC Router | Big projects that need exact cuts | Makes clean edges, can be programmed, good for many panels | Costs a lot, needs someone who knows how to use it |
Panel Saw / Table Saw | Straight cuts at home or in a shop | Fast, easy to use, good for lots of panels | Needs a special blade so the panel does not chip |
Jigsaw | Curved or odd-shaped cuts | Easy to carry, can cut many shapes | May leave rough edges; use a blade for metal |
Circular Saw / Handheld Saw | Quick straight cuts at the job site | Easy to move, fast, works well | Needs a blade made for non-ferrous metals |
Utility Knife (Score & Snap Method) | Thin ACP sheets and simple straight lines | Cheap, makes clean cuts, no dust | Only works for small jobs |
Always wear safety glasses and gloves when you cut panels. Go slow and follow your lines. This keeps your cuts neat and keeps you safe.
Handling and Storing Panels
Be careful when you move and store your panels. This stops scratches and dents. Follow these steps to keep your panels nice:
Keep panels in a dry place with fresh air. Make sure it is not hotter than 70 °C.
Lay panels flat and lift all sides at the same time.
Take off the protective film within 45 days after you put up the panels.
Only use interior wall panels inside.
Clean off any dirt with a gentle cleaner or alcohol.
If you do these things, your panels will stay in good shape until you use them.
Step-by-Step Guide to Install Aluminum Wall Panels
Choosing Fasteners and Clip Systems
 Choosing Fasteners and Clip Systems
You need the right fasteners and clip systems for a secure and long-lasting acp sheet installation. The choice depends on your wall type, the weight of the panels, and the look you want. Many people use wall panel clip systems because they hide screws and nails, making the surface look smooth. These clips also make the installation faster and easier.
Here is a table to help you pick the best fastener for your project:
Fastener Type | Material | Key Features | Best Use Case |
|---|---|---|---|
Wall Panel Clip System | Stainless Steel | Resists corrosion, tool-free install, looks clean | Humid interiors, modern exteriors |
Wall Panel Clip System | Galvanized Steel | Budget-friendly, works in dry rooms | Low-cost interior applications |
Wall Panel Clip System | Z Clamps | Heavy-duty, holds large panels | Demanding environments |
Clip systems make acp sheet installation simple. You do not see screws or nails.
Most clips need only a few tools or none at all.
You save time because you do not have to line up screws.
Clips keep the spacing between panels even and secure.
Always check the load capacity of your fasteners. Look at the manufacturer’s guide to make sure the fastener can hold the weight of your aluminum wall panels interior. Use clips that match your panel’s profile for the best fit and performance.
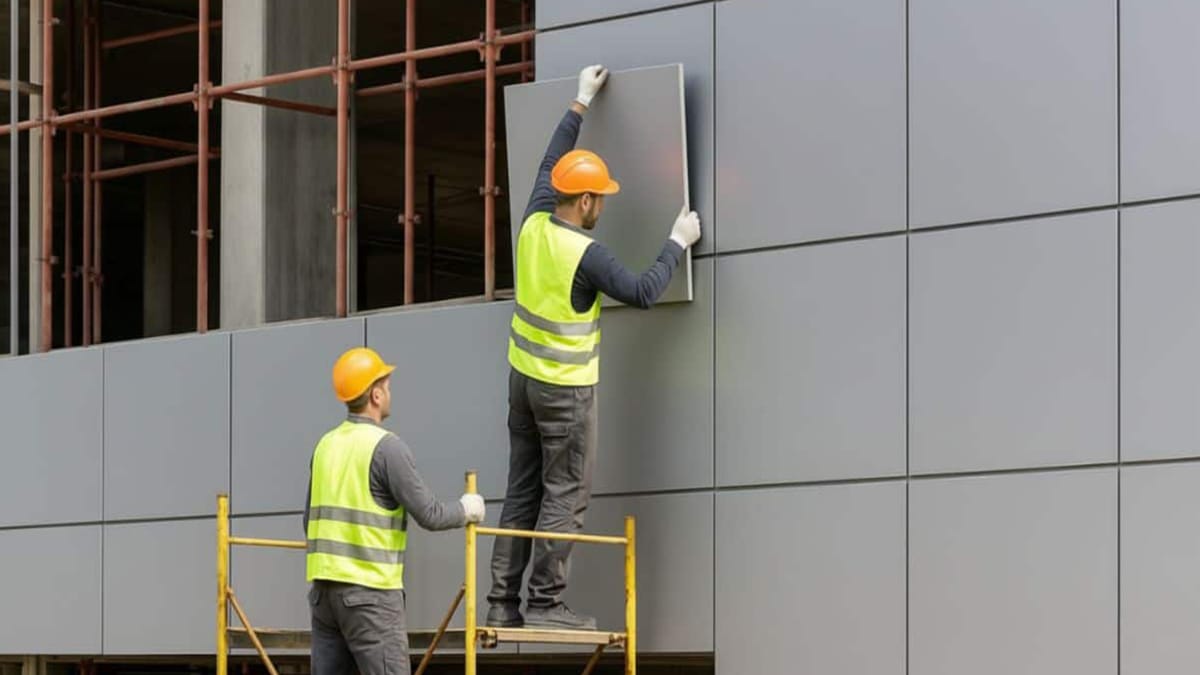
Installing the First Panel
The first panel sets the tone for the whole acp sheet installation. You must get this step right to avoid problems later. Follow this step-by-step guide to install aluminum wall panels with perfect alignment:
Inspect the wall or substructure. Make sure it is plumb and square. This is a key part of site preparation.
Pull a reference line using a chalk line or laser level. This line will guide your alignment.
Start in a main area, like the center or a corner. Place the first panel so it matches the control line. Check that it is square and plumb.
Use shims to keep the correct spacing between the panel and the wall or floor.
Attach panel clips to the wall, lining them up with the wall studs or framing.
Secure the clips with self-drilling screws. Place screws every 12 to 16 inches for stability. For some projects, you may use 18 or 24 inches on center, but closer spacing gives more support.
Do not over-tighten the screws. This can damage the panel or the clip.
Plan your acp sheet installation sequence. Check your work as you go.
Remove the protective film from the panel after you finish installing it. This prevents color changes.
Tip: Take your time with the first panel. Good alignment here makes the rest of the acp sheet installation much easier.
Aligning and Securing Panels
Proper alignment and secure mounting of panels are the keys to flawless acp sheet installation. Use paneling clips to connect each new panel to the previous one. These clips keep the panels tight and the spacing even. You can use them for walls, ceilings, or even cabinetry.
Always check the alignment of each panel before you secure it.
Use a level to make sure the panels stay straight.
Leave a 1/8 inch gap between panels for expansion and contraction.
Apply panel adhesive to the back of each panel for extra hold. This step helps prevent movement over time.
Seal all joints and seams with a compatible sealant or gasket. This step keeps moisture out and extends the life of your acp sheet installation.
Decorative trims help you finish the edges, corners, and joints. They protect the panels and give your aluminum wall panels interior a clean, modern look. Trims also hide small defects and make the acp sheet installation look uniform.
Note: Always mount clips at the recommended spacing. This ensures a secure and seamless acp sheet installation.
Dealing with Corners and Outlets
Corners and electrical outlets can make acp sheet installation tricky. You need special techniques to get a neat finish and keep the panels secure. Here are some common methods:
Method | Description |
|---|---|
Attach angles directly to the top and bottom (vertical) or left and right (horizontal) edges of the outlet box. Add extra rails within 3 inches of the outlet for support. | |
Creating finished corners without angles | Cut a 45-degree angle in the Click profile using a combination square and miter saw. Fasten the profiles so the 45-degree edges meet perfectly at the corner. |
Installing horizontal corners with Y-Angle | Trim the Click Profile at a 45-degree angle. Place the angle against the corner and slide the trimmed profile into the groove on both sides for a tight fit. |
Always check the alignment of trims and profiles at corners and outlets.
Keep the spacing even around outlets for a professional look.
Use a combination square to get perfect 45-degree cuts for corners.
Secure all trims and profiles with the right fasteners to prevent movement.
Tip: Take extra care when cutting and mounting panels near outlets and corners. Good alignment and spacing here make your acp sheet installation look professional.
By following these steps, you can install aluminum wall panels with confidence. Careful alignment, the right spacing, and secure mounting of panels will give you a flawless acp sheet installation. Whether you are working on a diy project or a larger job, these tips help you achieve a polished finish with aluminium composite panels.
Finishing and Sealing Aluminum Wall Panels Interior
 Sealing Joints and Edges
 Sealing Joints and Edges
After you install the panels, you need to seal all joints and edges. This step keeps out moisture and helps your aluminum wall panels interior last longer. You should pick a sealant that works well with aluminum and gives strong protection. The table below shows two top choices for indoor use:
Sealant Type | Key Features |
|---|---|
Silicone | Excellent joint movement, sticks well to aluminum, lasts over 20 years, works in extreme temperatures |
Polyurethane | Great flexibility, strong hold, cures with moisture, resists UV, stays durable for years |
Use a caulking gun to apply the sealant in a smooth, even bead along every seam. Wipe away extra sealant with a damp cloth before it dries. This gives your surface a clean look and stops dirt from building up.
Tip: Always check the sealant label to make sure it is safe for indoor use and matches your panel color.
Installing Trims and Moldings
Trims and moldings give your installation a finished, professional look. They also protect the edges from bumps and wear. Follow these steps to install trims and moldings with care:
Gather your tools. You need a metal brake, utility knife, tin snips, trim nails, hammer, and drill.
Choose high-quality aluminum trim coil for better strength and appearance.
Measure each section twice. Cut once to avoid mistakes and save material.
Use the metal brake to cut the trim to the right width. Add extra width if you need to make a hem.
Make a hem bend with the metal brake to reinforce the trim piece.
Bend the trim as needed for corners or edges. Measure each bend carefully.
Fasten the trim with aluminum trim nails. If you attach trim to treated wood, use house wrap or felt paper for extra protection.
Take your time with each step. Good trim work makes your aluminum wall panels interior stand out.
Cleaning Up After Installation
You want your new panels to look their best. Cleaning the surface after installation removes dust, fingerprints, and sealant smudges. Use these steps for a professional finish:
Set a cleaning schedule. Clean the panels every six months or more often if needed.
Pick a mild, non-abrasive cleaner made for aluminum. Stay away from harsh chemicals.
Test your cleaner on a small spot before you clean the whole surface.
Rinse the panels with clean water after washing.
Do not use high-pressure washers. They can damage the surface.
Keeping your panels clean helps them last longer and keeps your space looking fresh.
Maintenance Tips for Aluminum Wall Panels Interior
Routine Cleaning and Care
You can keep your aluminum wall panels interior looking new with regular cleaning. Use a soft, non-abrasive cloth and a pH-neutral detergent. This helps you avoid scratches and damage. Clean the panels once a month if you live in a city. In less polluted areas, clean them every few months. Always dry the panels after cleaning to stop water stains.
Safe cleaning products include vinegar, mild detergent, and borax. You can mix equal parts of white vinegar and water for a gentle cleaner. For bigger jobs, add a small amount of mild dish detergent to warm water. If you see tough spots, sprinkle borax on a damp sponge and scrub gently.
Tip: Check your panels often for dirt or damage. Early action helps you avoid bigger problems later.
Preventing and Repairing Damage
You can prevent most damage by inspecting your panels often. Look for dents, scratches, or signs of corrosion. Strong impacts, moisture, and even the natural properties of aluminum can cause problems. If you see damage, act quickly.
Here are steps to fix scratches or dents:
Clean the area with a siding cleaner to remove dirt.
Lightly sand the scratch or dent to smooth the surface.
Apply a primer and then a matching paint.
Seal any gaps with a proper sealant to keep out moisture.
For dents, you can use a wood block and hammer. Place the block against the dent and tap gently until the panel returns to shape. For deeper dents, drill a small hole in the center, insert a screw with a washer, and pull the dent out. Fill the hole with aluminum filler, sand it smooth, and touch up with paint.
Note: Regular care and quick repairs help your installation last longer and look better.
You can put up aluminum wall panels inside if you follow each step. Take your time and do each part right. This helps your project look good and last longer.
Key Benefit | Why It Matters |
|---|---|
Snap-in systems help you finish faster. | |
Improved Alignment | Planning ahead stops buckling and gaps. |
Gloves and goggles keep you safe from harm. |
If you have questions, ask for help or look at guides. You can also share your story with others or check technical bulletins for tips.
FAQ
How do you cut aluminum wall panels without special tools?
You can use a utility knife for thin panels. For thicker panels, try metal snips or a jigsaw with a metal blade. Always wear gloves and safety glasses.
Can you install aluminum wall panels over drywall?
Yes, you can install panels over drywall. Make sure the wall is clean, dry, and flat. Use proper fasteners or adhesive for a secure hold.
What is the best way to clean aluminum wall panels?
Use a soft cloth and mild detergent.
Avoid harsh chemicals or abrasive pads.
Rinse with clean water and dry with a towel.
Do aluminum wall panels need expansion gaps?
Yes, you should leave a small gap (about 1/8 inch) between panels. This allows the panels to expand and contract with temperature changes.