

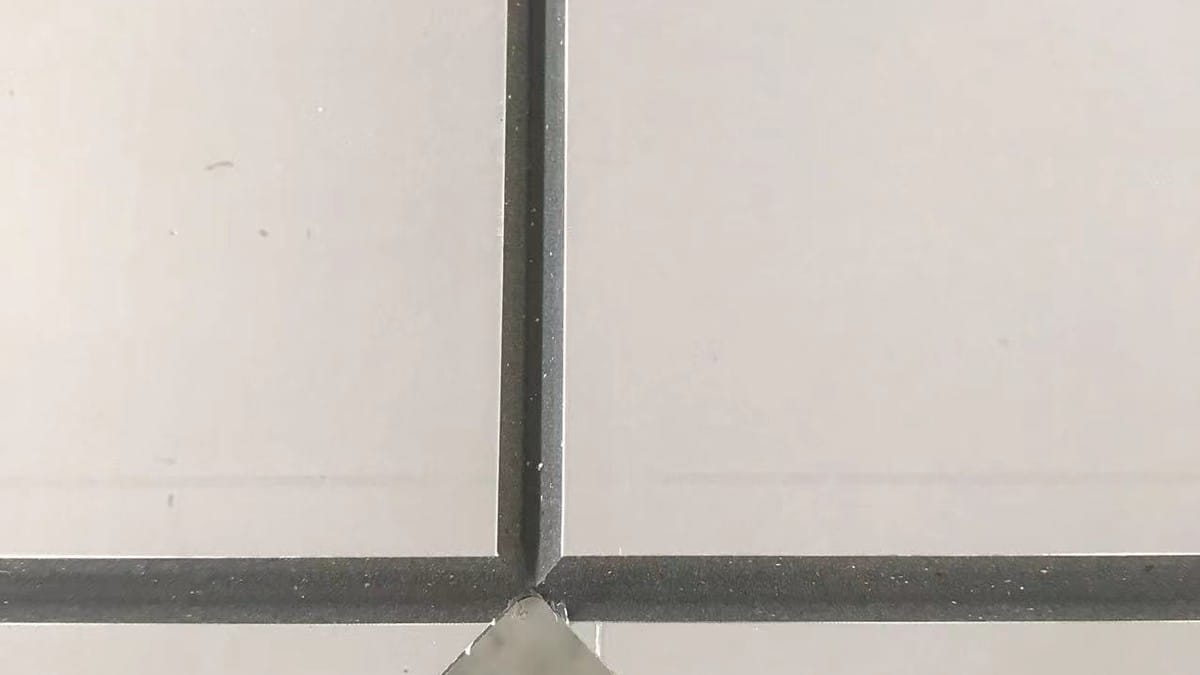
06 Aug ACP Sealant Compatibility and Joint Design
ACP sealant compatibility means the selected sealant, primer, backer rod and cleaner can contact the panel coating and joint substrates without losing adhesion, staining the finish, softening materials or restricting required movement. Compatibility must be confirmed for the exact products and surfaces used on the project. A generic statement that a sealant is “for aluminum” is not enough.
A durable joint also depends on geometry. Even a compatible sealant can fail when the joint is too narrow, too deep, bonded on three sides, installed on a contaminated surface, applied outside its temperature range, or forced to absorb movement beyond its capability.
What an ACP sealant joint must do
Depending on the façade system, a visible joint may help control rain, air, appearance and movement. In a drained and ventilated rainscreen, the outer joint may not be the only weather line. In a barrier-type assembly, sealant may carry more responsibility. The designer must define the system before the applicator chooses a bead size.
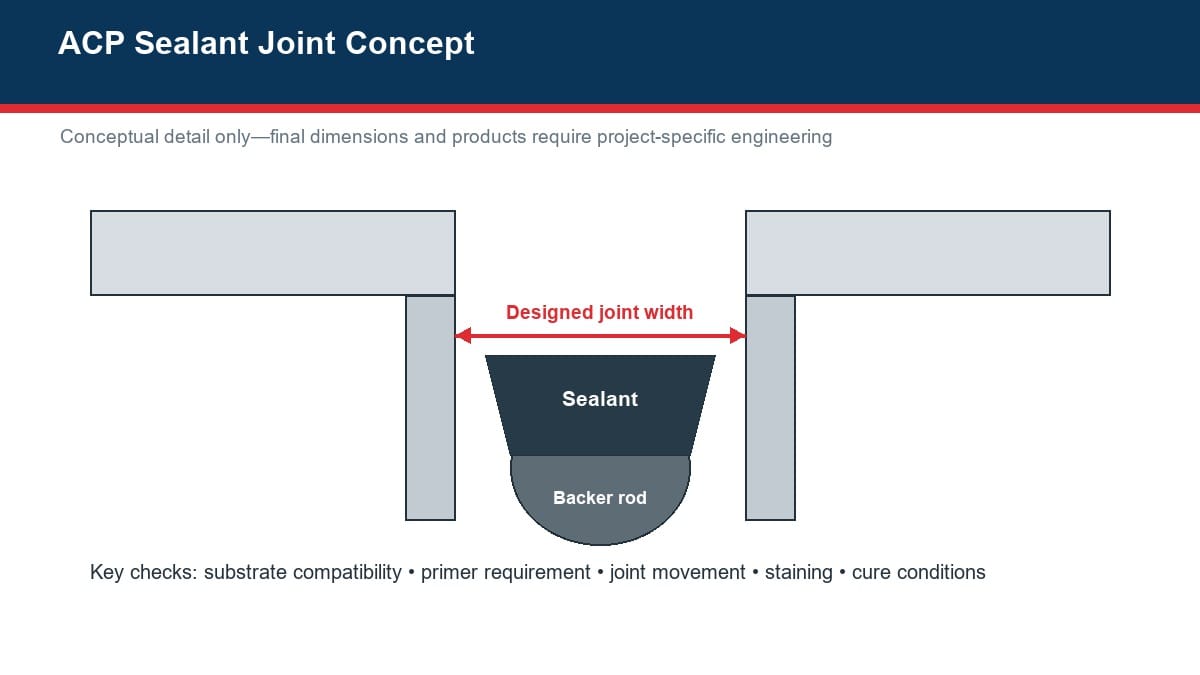
The joint needs room for thermal and building movement. The sealant manufacturer’s movement rating is meaningful only when the original joint width, bead shape, adhesion surfaces, cure and service conditions meet its requirements. Narrowing a joint for appearance can reduce the movement capacity of the complete assembly.
Compatibility risks to check
| Risk | What it may look like | Control |
|---|---|---|
| Poor adhesion | Sealant releases cleanly from the panel or adjacent substrate | Adhesion testing, approved preparation and primer decision |
| Staining or migration | Dark halo, oily edge or discoloration beside the joint | Non-staining compatibility test on the exact coating and stone |
| Coating interaction | Softening, gloss change, swelling or color change | Written panel and sealant manufacturer confirmation |
| Three-sided adhesion | Early tearing or stress concentration | Correct backer rod or bond-breaker tape |
| Cleaner or primer damage | Wiped marks, streaks or reduced coating gloss | Use only approved products and masking method |
| Insufficient movement allowance | Split bead, cohesive tear or distorted panel edge | Calculate movement and size the joint before fabrication |
Design the joint before cutting panels
Joint width affects panel size, cassette returns, subframe layout and visual rhythm. It cannot be solved reliably after panels arrive. The design team should estimate temperature movement, building drift, fabrication tolerance, installation tolerance and sealant performance, then define nominal and permitted joint widths.
Backer rod controls depth and supports tooling. It should be compatible with the sealant and sized so it remains stable without being punctured. Closed-cell, open-cell and hybrid backers behave differently; the sealant manufacturer should recommend the appropriate type. Where depth does not permit a rod, an approved bond-breaker tape may be used.
Most movement joints are intended to adhere on two opposing sides. Adhesion at the base restricts the bead and creates unfavorable stress. The bead profile and depth-to-width relationship must follow the selected sealant’s data rather than a universal rule copied from another product.
Qualification workflow
- Define every contact surface. Record the exact ACP coating, aluminum edge, primer, backer, adjacent glass, stone, membrane, gasket and accessory.
- Submit actual samples. Send production-representative coated panel pieces to the sealant manufacturer. A color chip or generic aluminum sample may not represent the coating.
- Request adhesion and compatibility testing. Include proposed cleaners, primers and backing materials. Ask for written preparation instructions.
- Build a project mock-up. Reproduce joint dimensions, masking, tooling, cure, orientation and adjacent materials. Inspect for adhesion and staining.
- Control site conditions. Verify surface dryness, temperature, cleanliness, shelf life, batch, mixing, primer coverage and cure protection.
- Perform field checks. Use the agreed frequency and method, record cohesive versus adhesive behavior, and repair test locations correctly.
Sealant selection checklist
| Selection item | Project information required | Evidence to retain |
|---|---|---|
| Panel surface | Coating family, color, gloss, batch and supplier | Panel data and submitted sample ID |
| Joint movement | Panel size, temperature range, support movement and tolerances | Design calculation and approved detail |
| Sealant | Type, grade, color, movement class and cure | Current product data and batch record |
| Preparation | Cleaner, primer, wiping method and drying time | Manufacturer test letter and method statement |
| Backing | Rod type, size or bond-breaker tape | Approved submittal |
| Appearance | Tooling profile, masking limits and staining criteria | Signed mock-up |
Common installation mistakes
Applying sealant to wet, dusty or oily surfaces is a frequent cause of adhesion failure. Another is wiping the coating with an unapproved solvent that leaves contamination or changes gloss. Primer should not be treated as a substitute for cleaning, and more primer is not necessarily better. Follow the tested procedure.
Overfilling or underfilling the joint changes bead geometry. Masking tape left too long can tear the sealant skin. Tooling with detergent or other unapproved liquids can affect cure and adhesion. Work should stop when weather, condensation or substrate temperature falls outside the product instructions.
Frequently asked questions
Is neutral-cure silicone always compatible with ACP?
No. Product chemistry alone does not confirm adhesion, staining behavior or coating compatibility. Test the exact sealant and panel finish.
Can the panel supplier approve the sealant?
The panel supplier can identify the coating and known restrictions, while the sealant manufacturer normally confirms adhesion and preparation for its product. The designer remains responsible for the joint and façade system.
Why use a mock-up after laboratory testing?
A project mock-up checks workmanship, joint geometry, masking, appearance and adjacent materials under realistic conditions. It complements rather than replaces manufacturer testing.
Final takeaway
Successful ACP sealing combines compatible materials with a designed movement joint and controlled workmanship. Freeze the coating and sealant products, calculate movement, test actual samples, approve a mock-up, document preparation, and perform field adhesion checks. Those steps are far less expensive than replacing stained panels or failed joints.
For production panel samples and coating identification, contact Alcadex before the sealant qualification program begins.