

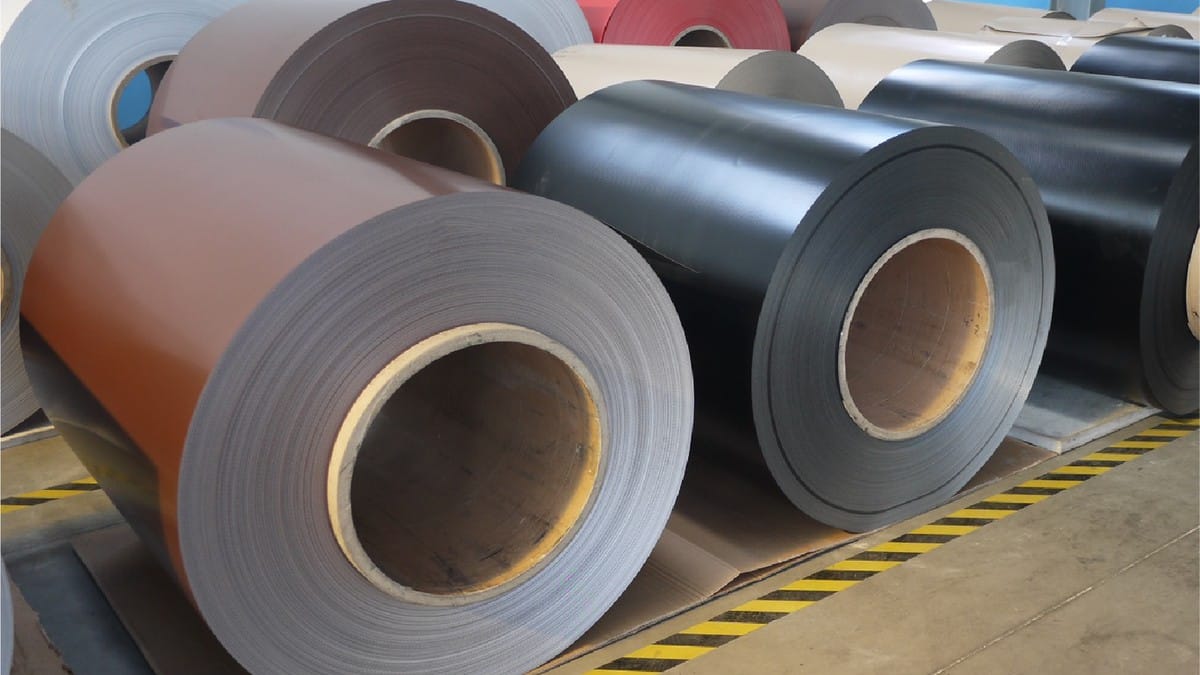
13 Aug ACP Color Variation: Batch Control and Approval
ACP color variation is a visible difference in hue, lightness, gloss, metallic orientation or texture between panels that are expected to appear uniform. The best control is to approve a physical sample under defined viewing conditions, maintain batch traceability, keep directional panels aligned, allocate batches by façade zone, and inspect the dry-laid panels before permanent installation.
A matching color code does not guarantee that panels from different production runs will be visually identical. Coating raw materials, application settings, curing, gloss, metallic-flake orientation, substrate, and observation angle can all influence appearance. The acceptance process should therefore combine instrument data with a signed visual standard.
Why ACP panels can look different
| Source of variation | Appearance effect | Control |
|---|---|---|
| Different coating batches | Subtle hue, gloss or metallic difference | Order one project batch where practical and retain batch IDs |
| Reversed direction | Alternating light/dark appearance with viewing angle | Follow film arrows and nesting maps |
| Mixed coating systems | Different weathering, gloss and texture | Freeze coating family and supplier in the specification |
| Surface contamination or film residue | Patches, streaks or gloss differences | Controlled storage, removal and approved cleaning |
| Panel flatness or subframe variation | Different reflections that resemble color mismatch | Inspect geometry and lighting before blaming pigment |
| Replacement at a later date | New panel differs from weathered surrounding panels | Retain spares and records; evaluate in the actual elevation |
Approve more than a color code
The submittal should identify the coating system, color name and code, gloss target, surface texture, metallic or directional status, and intended exposure. The approved physical sample should be large enough to reveal directional and metallic effects. Small chips are useful for selection but may not predict a complete façade.
Define how samples will be viewed: daylight or controlled light, approximate distance, viewing angle, surrounding colors, and whether panels are flat or formed. For critical projects, approve a full-size mock-up with actual joint width, cassette geometry and orientation. Sign and date the retained reference and protect it from damage and fading.
Batch-control workflow
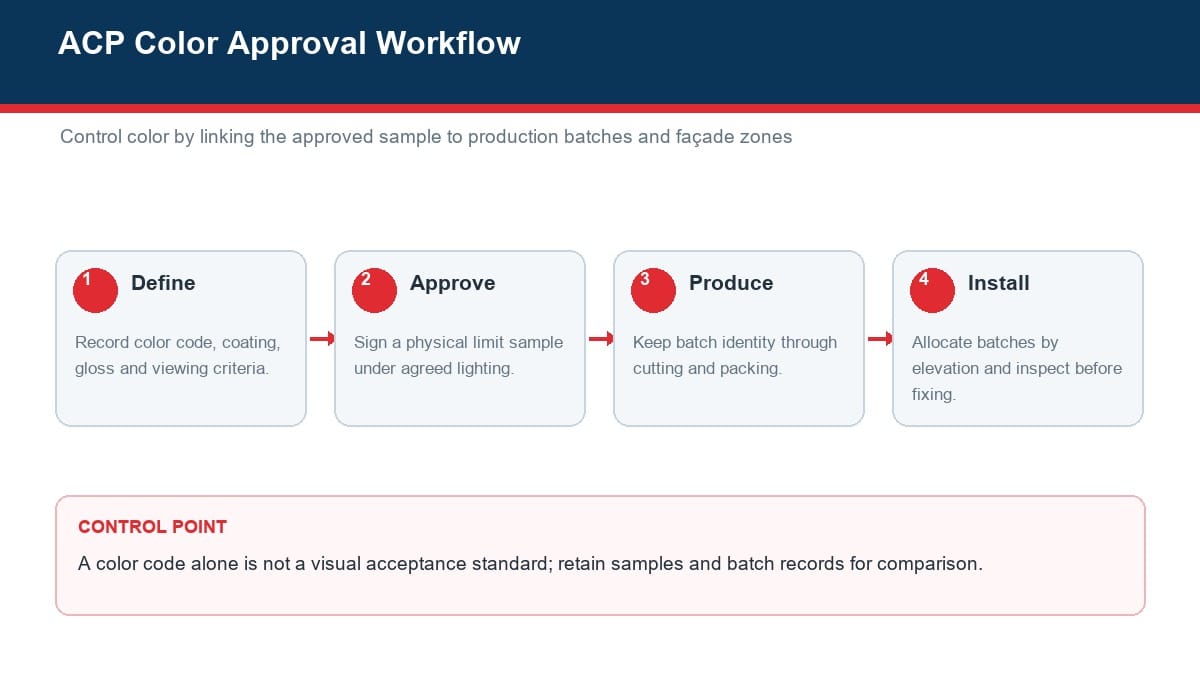
1. Define the visual standard
Record color, coating, gloss, direction and acceptance conditions. If instrumental limits are required, state the measurement geometry, instrument settings, number of readings, reference standard and permitted difference. Instrument values should support, not silently replace, the agreed visual assessment.
2. Link production to the sample
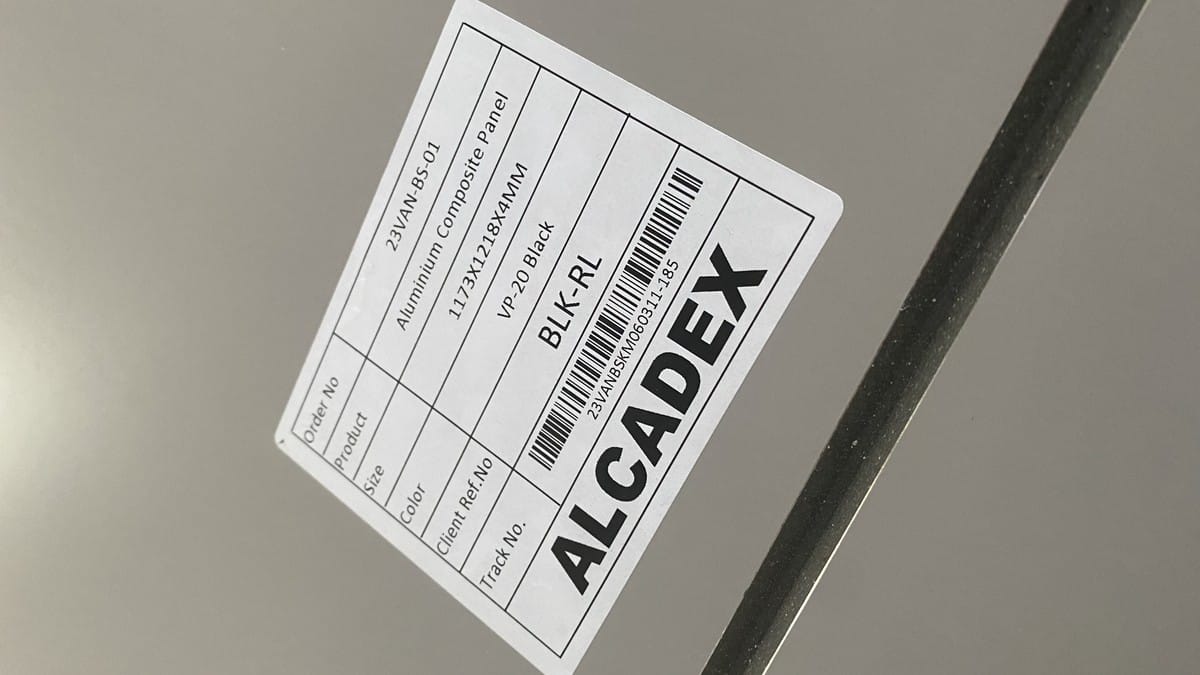
Production panels should carry an order and batch identity. The supplier should retain representative samples according to its quality plan. When a project needs several production lots, compare each against the approved standard and plan how batches will be distributed.
3. Maintain identity during fabrication
Batch labels and direction arrows can be lost when sheets are cut into many pieces. Transfer part, batch and direction information to fabricated components. Nest directional parts consistently, and never rotate a piece solely to improve material yield unless the finish permits it.
4. Inspect before permanent fixing
Dry-lay or temporarily position a representative group under normal viewing conditions. Check from the intended distance and at several angles. If differences appear, confirm film status, cleaning, direction, batch, flatness, joint alignment and lighting before deciding the cause.
Color acceptance record
| Record | Minimum content | Purpose |
|---|---|---|
| Approved sample | Signature, date, color, coating, gloss and direction | Physical visual reference |
| Production batch list | Batch IDs, quantity, size and dates | Traceability and zone planning |
| Nesting and part map | Sheet batch, part number and arrow direction | Prevents reversal and mixing |
| Elevation allocation | Batch by façade area | Keeps local appearance consistent |
| Site inspection | Location, light, film status, photos and decision | Documents acceptance before fixing |
How to handle a suspected mismatch
Pause installation and identify every affected panel. Do not remove all protective film or clean the entire elevation until the comparison method is agreed. Photograph the panels with their labels and orientation, but remember that cameras and screens can alter color. Retain physical samples.
Compare panels from the same and different batches, rotate only a loose control piece to test directionality, and inspect panel plane. Ask the coating or panel supplier to review retained production samples. If replacement is proposed, evaluate the new sample next to installed and weathered panels under real site conditions.
Frequently asked questions
Can a colorimeter replace visual approval?
No. Instrumental measurement is useful, but metallic and directional finishes can change with geometry and viewing angle. Use an agreed method together with physical visual standards.
Should different batches be mixed randomly?
Usually not. Keep traceability and allocate batches deliberately. If blending is proposed, approve the method on a mock-up before broad installation.
Why do panels match on the ground but not on the wall?
Orientation, reflected sky, joint alignment, panel plane, distance and changing sunlight can reveal differences that are not obvious at close range.
Final takeaway
Color uniformity is managed, not assumed. Freeze the complete finish specification, approve a physical standard, preserve direction and batch identity, inspect representative groups before fixing, and document every decision. This process reduces both real mismatch and false diagnoses caused by film, reflection or geometry.
To request project samples or confirm batch-control options, contact Alcadex with the finish, quantity and elevation requirements.